 A fun cake for my roommate Amy who is leaving Madrid to go to Valencia...I had been wanting to do this cake for a while, and here was the perfect chance because she will be near the beach!
Ingredients this is a vegan cake!!!!
CAKE: (make the amounts double for this cake--sorry cant be bothered to change these instructions...)
1 and 1/4 quarter cup of flour
1 tsp baking pwder
1/2 tsp of salt
1 cup of sugar
1/3 of unsweetened cocoa powder
1 tsp of vanilla extract
1/3 distilled white or apple cider vinegar
1 cup of warm water
1/3 of veg oil
Bake a 350 or 175 celsius
8x8 pan----small pan(for quantities above, not for the double quantities!)
DECORATION:
- 400 gm of vanilla icing--Betty Croker or any brand.
- Barquillos or
- Decorations for cake....liquorice, umbrellas, ...
- 1. Mix flour, sugar, cocoa, baking soda and salt with a fork making sure it is well blended
2. Add water, vanilla, oil and vinegar and mix so well blended. Bake at 350 degrees or 175 celsius. Bake until knife comes out clean
3. Begin with the icing to make the sea...I used this Wilton Celeste colour...it was the perfect bright colour to resemble a bright sea. And you know how much it cost me here in Europe.
4. Add as much colouring you think you need to make the colour you desire.
5. Yes it was getting there.
This is a shot of the different shades I did, to add detail and make the sea more realistic.
This is a shot of the icing I used. I couldnt be bothered to make it....it was very good this brand.
A photo of the barquillos that I used... WAFERS!
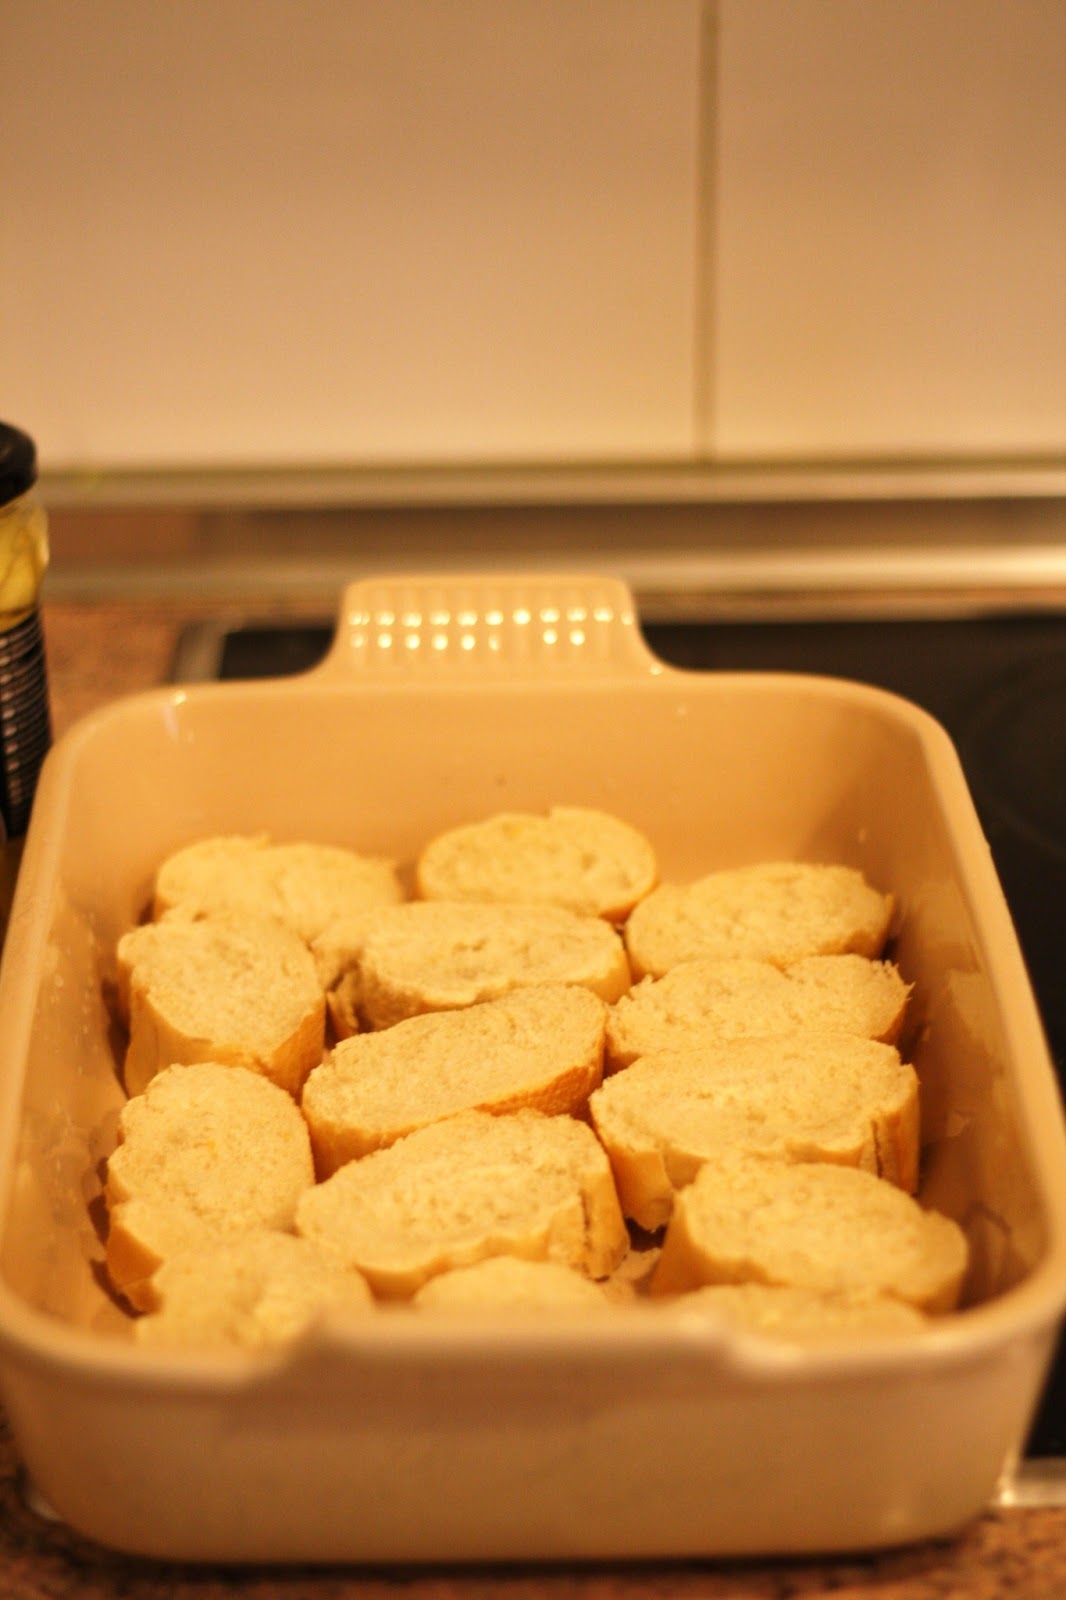
The sand and water together. My sand was two packages of normal biscuits, Maria Fontaneda, really any type.
The candy I bough, fishes, sea stars, rocks, sour candy...
Some old fondant I had kept from previous cakes, to make Amy's flip flops.
I liked a lot the effect of footsteps on the sand, so realistic!
The mess I always create with these cakes ...but worth it
The vegan cake came out of the oven
The glaze of the cake ...
This is the baking tray I used
I just flipped it over and fell in one piece luckily
I poured the glaze over the cake
I left it to cool for 1 hour in the fridge
Ready to go, let's go
I started adding the water...a mess because the chocoalte and the blue water was mixing....do it really carefully! or just do not add the chocolate....next time I will not add the chocolate underneath the blue icing.
It was difficult to not mix it...but I think I managed...
Then I added the sand....it is necessary to have some chocolate underneath the sand because otherwise it doesnt stick to it
Almost done with the sand-biscuit...it was fun to do this cake
And now I squirted some white icing with a piping bag to recreate the waves, the foam at the seashore, the effects and just make it more realitic and 3D
Looking good....
And now I started to recreate my bamboo fence
I started to add details to the cake.
The fence! I broke the waffers into pieces....
It is cool if you can kinda follow a pattern of length in the waffers but seriously you can also do it randomly
I was careful in this cake with the fence, and wanted to make it really pretty...but it was taking FOREVER.
Almost done
Done!
So fun....
OK, I am going to sleep cake ...good night
I did the flip-flops with the pieces of fondant left
I drew the shape of the flip flops free hand...
Then I added the tiny bits of green to make the look like the Brazilian flip flops Amy has
This is the following day with all the details
And the sun and shadows ...
I like this detail


the towell and the flip flops
The sea
In case you cant tell it's Valencia
but then, I realized I needed to make another cake, because it turned out kinda small.....
So this one I made it an island...this cake I made it superfast....in 2 hours, and not vegan, but cow-friendly
This is the way it turned out...a stormy and conflicted sea...
agitated waves...because I was in a rush, this cake came out with lots of turbulences... :)
These are the two cakes together at the pinic...as you can see I put sand all over...in between the cakes...it was really cool...
I totally recommend this cake, it was great great fun!
 A fun cake for my roommate Amy who is leaving Madrid to go to Valencia...I had been wanting to do this cake for a while, and here was the perfect chance because she will be near the beach!


