Showing posts with label art. Show all posts

Sunday, March 28, 2021

Chocolate Coconut Egg Nests for Easter


It's Easter again! and I wanted to make a fun recipe that was a little Pinteresty but not crazy laborious. I found this one and thought this is easy and fun.

INGREDIENTS:
-100 grams of dried coconut.
-100 grams of 70% chocolate.
-25 grams of brown sugar.

STEPS:
1. Melt the chocolate in a little pot.
2. Mix the melted chocolate with the coconut and coat it all really well.
3. Now scoop out and make little nests on baking paper.
4. Now place the eggs on top quickly while it is still hot and let it cool for a lot of hours, at least 12.

That's it. So good! My family loved it and they could tell they were nests. Spring is finally here you all.

Friday, December 11, 2020

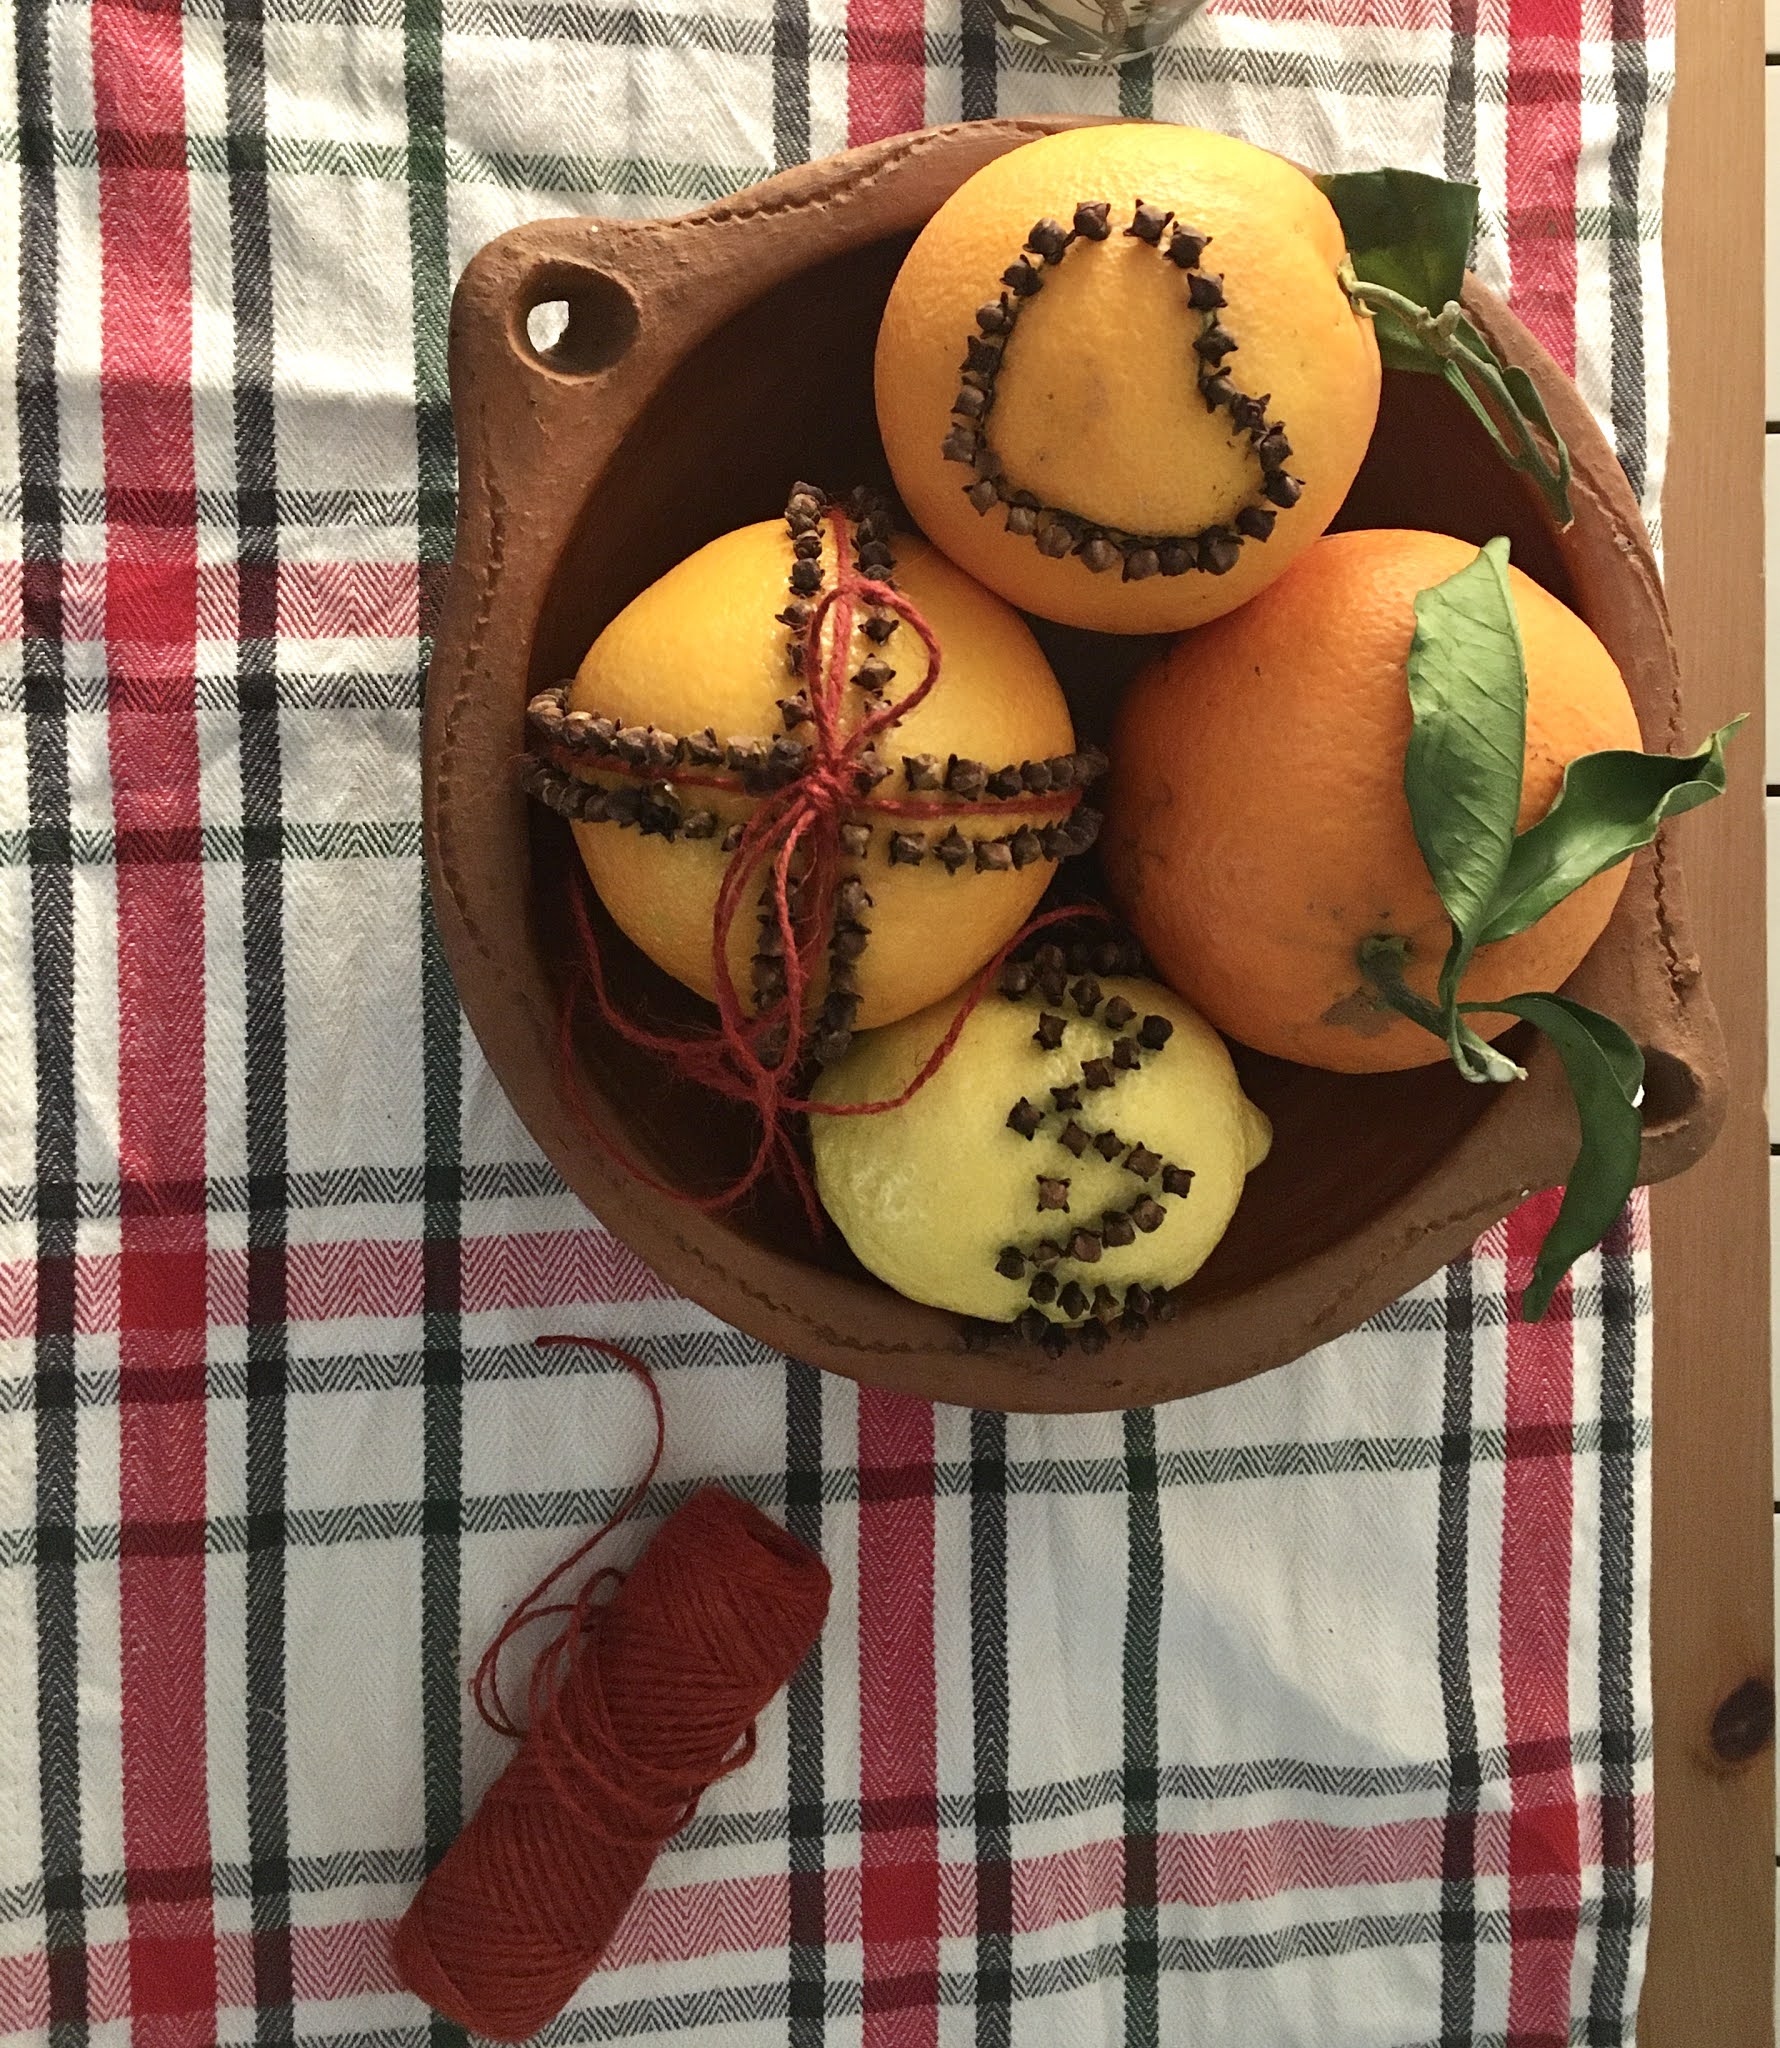
Christmas Orangy Decorations


Fun times with cloves, lemons, oranges, and mandarins. Great centerpieces for Christmas.
Been doing a few of these. The key is to do as symmetrically as you can and to poke the holes before with a stick or toothpick. 


Have elastic bands and draw figures with a pen beforehand and then be very consistent with the cloves, make sure they all have the little head.

 You cannot go wrong! 

Monday, December 11, 2017

Bug & Berry Cake

Made this cake for my sister and thought I would post even though I did not make the cake, it is a mix.   I called it my bug berry cake. 

Ingredients:

  • 1  Chocolate Mix Cake. 
  • 1 Chocoloate icing.
  • A small box of gooseberries (grosellas).
  • 2 boxes of raspberries.
  • 1 small of fresh cranberries.
  • ladybugs candies.
  • Marmalade.


Steps:

So I was in a rush for this cake so I had to buy the mix and the chocolate icing. So ....

  1. Step one: Make the cake with the mix cake. 
  2. Put the frosting on top. This frosting really works like glue with the fruit.
  3. Wash the berries and dry them a bit so that they stick to the icing. 
  4. Distribute them evenly, don't just throw them without any order...it has to look varied and the cool thing about this cake it's the many red tones that go from bright red till almost black.
  5. Place the ladybugs or whatever cool candy you have on top.
  6. Stick in on fridge so that it solidifies.
This cake really worked I have to say.....it saved me big time, cause it looked awesome and very elegant and fun, perfect for December. My nephews couldn't stop looking at it and kept looking for the ladybugs. 

Also the combination of rich dark chocolate and acidic fruits really worked, as it balanced it out.   Lastly, try to find reasonable berries because they are expensive. I bought the canadian fresh cranberries in El Corte Inglés (posh supermarket of snobbish Madrid) but the rest I got them in LIDL and was just glad for the extra walk there.


I should probably cook like my hero Julia Child. How cool is that outfit?  


Sunday, December 22, 2013

grape and cheese Christmas tree!

This is a fun project for a Christmas game night we had at home last night. It's easy to do and makes your party look so festive! 


  • Ingredients
  • Get some red and white grapes. 
  • Cheddar cheese cut up in dices.
  • A little bit of pepper for decoration cut up in slices. 
  • A biscuit with a star shape.


1. Place a line of cheese cubes and alternate with a line of grapes, each line of grapes of a different colour, and keep adding the layers up until you make a Christmas tree! 

2. Cant think of how else I can explain how to make this apart from adding photos so that you can look at it. 


3. Now add the pepper layers...and cut of the edges to make it look like beautiful red lace around the tree.


4. Now add the final magic touch! I added this star cookie I got in my cesta de Navidad. 


TADAAAAAAAAAAAAAAAAH!
                                              

enjoy your party! 


Monday, August 5, 2013

Rainbow slush or granizado de colores


A super fun project perfect for a party, I saw the original recipe here . All you need are flashes! Si flashes en español, o ice pops en ingles. Ok, esta receta la pongo  en español. 

1. Coloca los flahes por colores y que vayan en tono descendiente o ascediente...pero piensa en la combinacion, claro, y oscuro o puede ser un desastre.


En otro bol, abre el primer color y machaca el hielo en OTRO bowl, y echalo en una fuente grande. 


Adriana me ayudó mucho y la encantó la receta. 

Ahora estamos haciendo el azul, y lo pusimos encima del marrón ya...hay que espacirlo bien para que se vea por todos los bordes del bowl.


Aqui echamos ya el flash verde machacado. 


Bonito, eh?? me encanta...


Aqui va el amarillo....


El naranja.....
Y el ultimo el rosa...
Y aqui está la mezcla. No quedó muy bonito porque no habia echado los suficientes flashes....y no se apreciaban bien las capas de colores....verdad?? 


Aqui se ve un poco más....pero estaba  SUPER BUENO y a todo el mundo le encantó en la fiesta. 


Pero hacia mucho calor y se derritio rapido....entonces no se percibian bien los colores.

Por lo tanto lo intenté de nuevo otro día....aqui estoy yo con mi flash Burmar

En un vaso! para hacerlo a menor escala---


Quedó mucho mejor...ves?? 
Aqui se aprecian los colores más....


Me hubiera gustado hacer una foto sin mi dedo pero no tenia nada para sujetarlo así alto 


Contra la luz de mi terraza.pruebalo es guay! 

Tuesday, June 11, 2013

limones de colores


Una receta divertida que saqué de este blog.


Perfectos para cuando estes aburrido este verano....o para cuando tengas invitados y quieras hacer una limonada original, o agua con limon original....claro, con una jarra transparente. 
Solo necesitas.......
  • Limones
  • Colorantes Wilton.
Superfaciles: pon una gotita de nada en varios cuencos
Yo probé estos colores: naranja, azul, verde, rosa y morado


En mi opinion el rosa y el verde es el mejor...ahora pon las rodajas en el agua y dejalos por varias horas (como 3 horas).


El azul luego quedó un poco raro...
Y el morado también...pero el rosa mola mucho
Estos son los colorantes que usé...y otros más


Tachán!!!!! por la mañana...

Habian quedado guays, y ahora los puedes congelar y guardar para ocasiones especiales. 
Ya se que son una chorrada, pero a veces las chorradas molan mucho! :) Recuerda: verde y rosa, los mejores colores, más vibrantes y que más pegan con el amarillo cítrico.