Sunday, December 20, 2020

NY Buffalo Chicken WIngs


NY Buffalo chicken wings are amazing. I mean basically you wanna eat even the bones, that is how good they are.

I did this recipe this summer and forgot to jot it down here. My recipe is a mix of this recipe and this recipe because I baked them. So here it is.

INGREDIENTS:

-15 chicken wings cut in half.
-Salt and pepper.
-1 heaped spoonful of flour.
-1 heaped spoonful of baking powder.
-1 teaspoon of teaspoon of cayenne powder.
-1/2 teaspoon of sweet paprika.
-1/2 teaspoon of spicy paprika.

For the sauce:
-2oo ml of ketchup.
-75 grams of butter.
-1 teaspoon of sugar.
-1 teaspoon of garlic powder.
-1 teaspoon of cayenne powder.
-1 teaspoon of spicy paprika.
-1 spoonful of tabasco sauce.
-1 spoonful of cornstarch.
-some pepper.

STEPS:

1. Mix the chicken wings with salt and pepper and then with the rest of the ingredients above, flour, baking powder, cayenne powder and paprikas. Coat all of them well. The trick for them to be crispy is to use baking powder.
2. Stick them in oven for 30 minutes to 200 degrees (with fire from below) and then turn on the grill and grill for 30 minutes at 200 degrees. Once they are golden get them out.
3. In the meantime prepare the sauce. Melt the butter first and then add all the ingredients and stir for 10 minutes until it is all come together.
4. Now get the wings out of the oven and add them in the hot sauce and coat them well, stir well. 
5. Now place them in the oven tray in foil paper and put them in the grill of the oven for 200 degrees until they caramelize for about 20 minutes. 

And that's it. They are soooooooooo good. 


Friday, December 18, 2020

Easy Mediterranean Sea Bram in the Oven (Dorada)


We need to eat more fish. Like once a week
-my husband announced to me.

Totally agree. Who else is fed up of chicken?? Raise your hand. I do not understand why we always the same things when there is so much food out there, especially in places like Spain, where food in soooooooooooooooo fresh, unlike UK and USA (yes, sorry, but it is all true). 

So I bought these Sea Bram, each fish for 3 euro each. Wow so good. I followed an easy spanish recipe that inspired me from this site.

INGREDIENTS:

-2 sea brams.
-12 small potatoes or 6 big ones.
-1 small onion.
-4 cloves of garlic.
-6 or 7 small cayenne peppers.
-1 lemon.
-olive oil.
-parsley for decoration.
-salt and pepper.

STEPS:

1. Make a bed of potatoes in the oven dishes. I used two dishes one for each fish. Put a little olive oil in each dish and spread.
2. Slice the potatoes in thin layers and place in the dish. Now dice up the onion in little cubes, with the garlic and sprinkle around, also add a few cayenne peppers to give it all a small kick. Distribute the ingredients between the 2 trays if you are using 2. Put in oven for about 30 minutes on their own in 180 degrees on both high and low fire.

3. In the meatime prepare the fish. Simply add the juice o
f one lemon in a bowl, with a little olive oil, garlic minced, pepper, salt and parsley and cayenne peppers and open the fish and pour inside the fish. Now with a basting brush add the rest on the skin of the fish so that it looks shiny with a few spices on top.

4. Stick to oven for about 30 minutes in 170 degrees both low and high fire, and the fish will start to become golden....and really that's it.


It was so good! So so good. The thing about is fish is that you do not have to do anything to make it taste good, on its own is amazing just like lamb. 

Why do people add all kind of extra-flavors to things like seafood, fish or lamb? They should taste like what they taste like, will NEVER get it. 

Photo of the Northern Irish sea, Portstewart.


Sunday, December 13, 2020

Chestnuts Roasted on an Open Fire (or Oven)


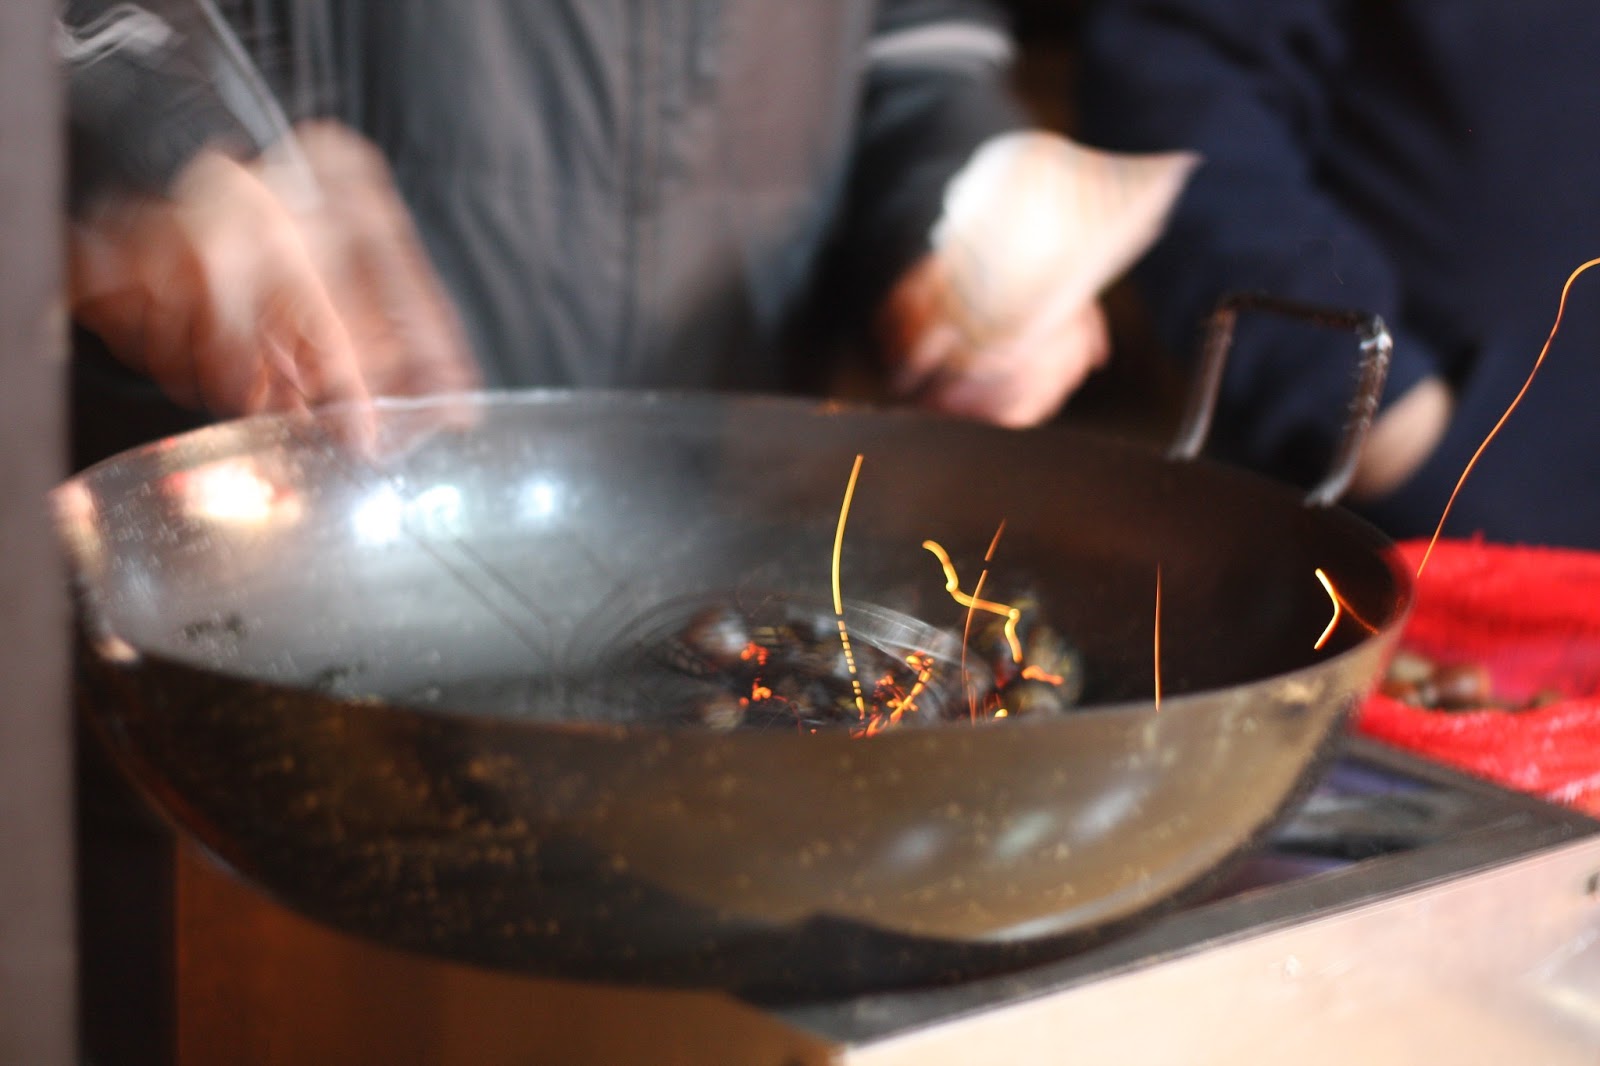
A real classic of winter "chestnuts roasted on a open fire"....
But why buy 8 chestnuts/castañas for 3.50 euro when you can make them at home for so much cheaper? 

STEPS:

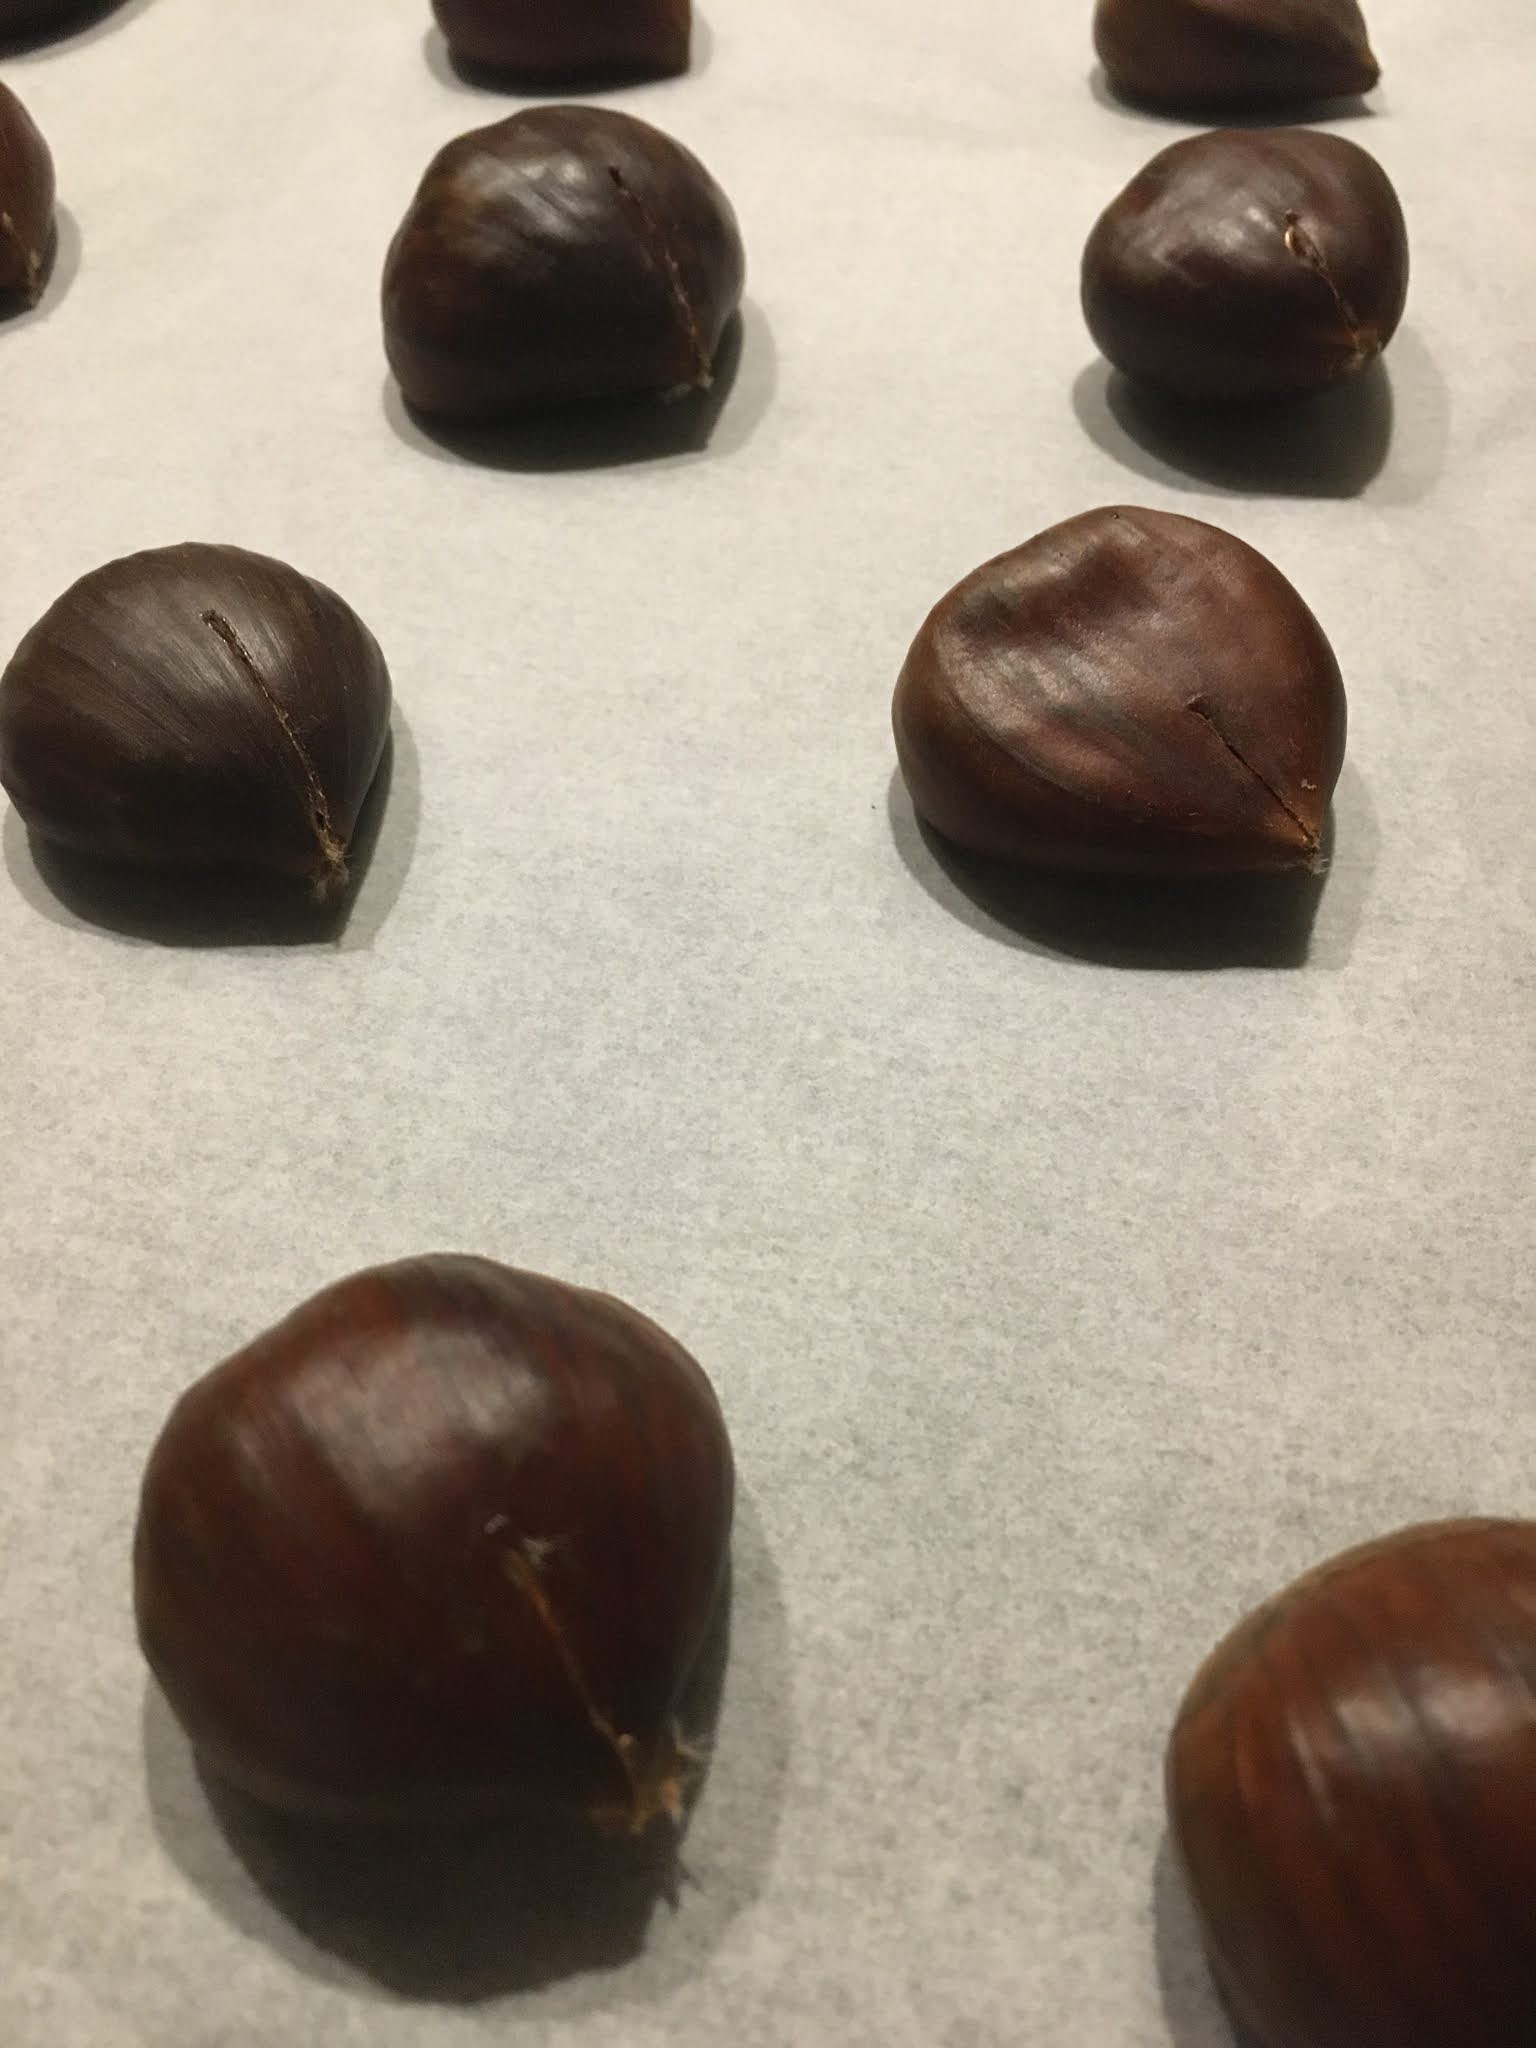
1. Get your chestnuts/castañas, and have a small cut right at the core of them. See photo. This prevents them from exploding of internal pressure and they cook faster.
2. Place as many as you want  on baking paper on a metal tray and bake at 210 degrees with grill on top for 20 minutes. Place the tray near the bottom of the oven, not in the middle of the oven otherwise they will burn.
3. Now if you want, after those 20 minutes, for only 5 minutes you can crank up temperature to 250 so that they get a final toast (I like mine pretty toasted).
4. That's it. Enjoy. So good for winter nights, especially with Ann of Green Gables. 


Friday, December 11, 2020

Christmas Orangy Decorations


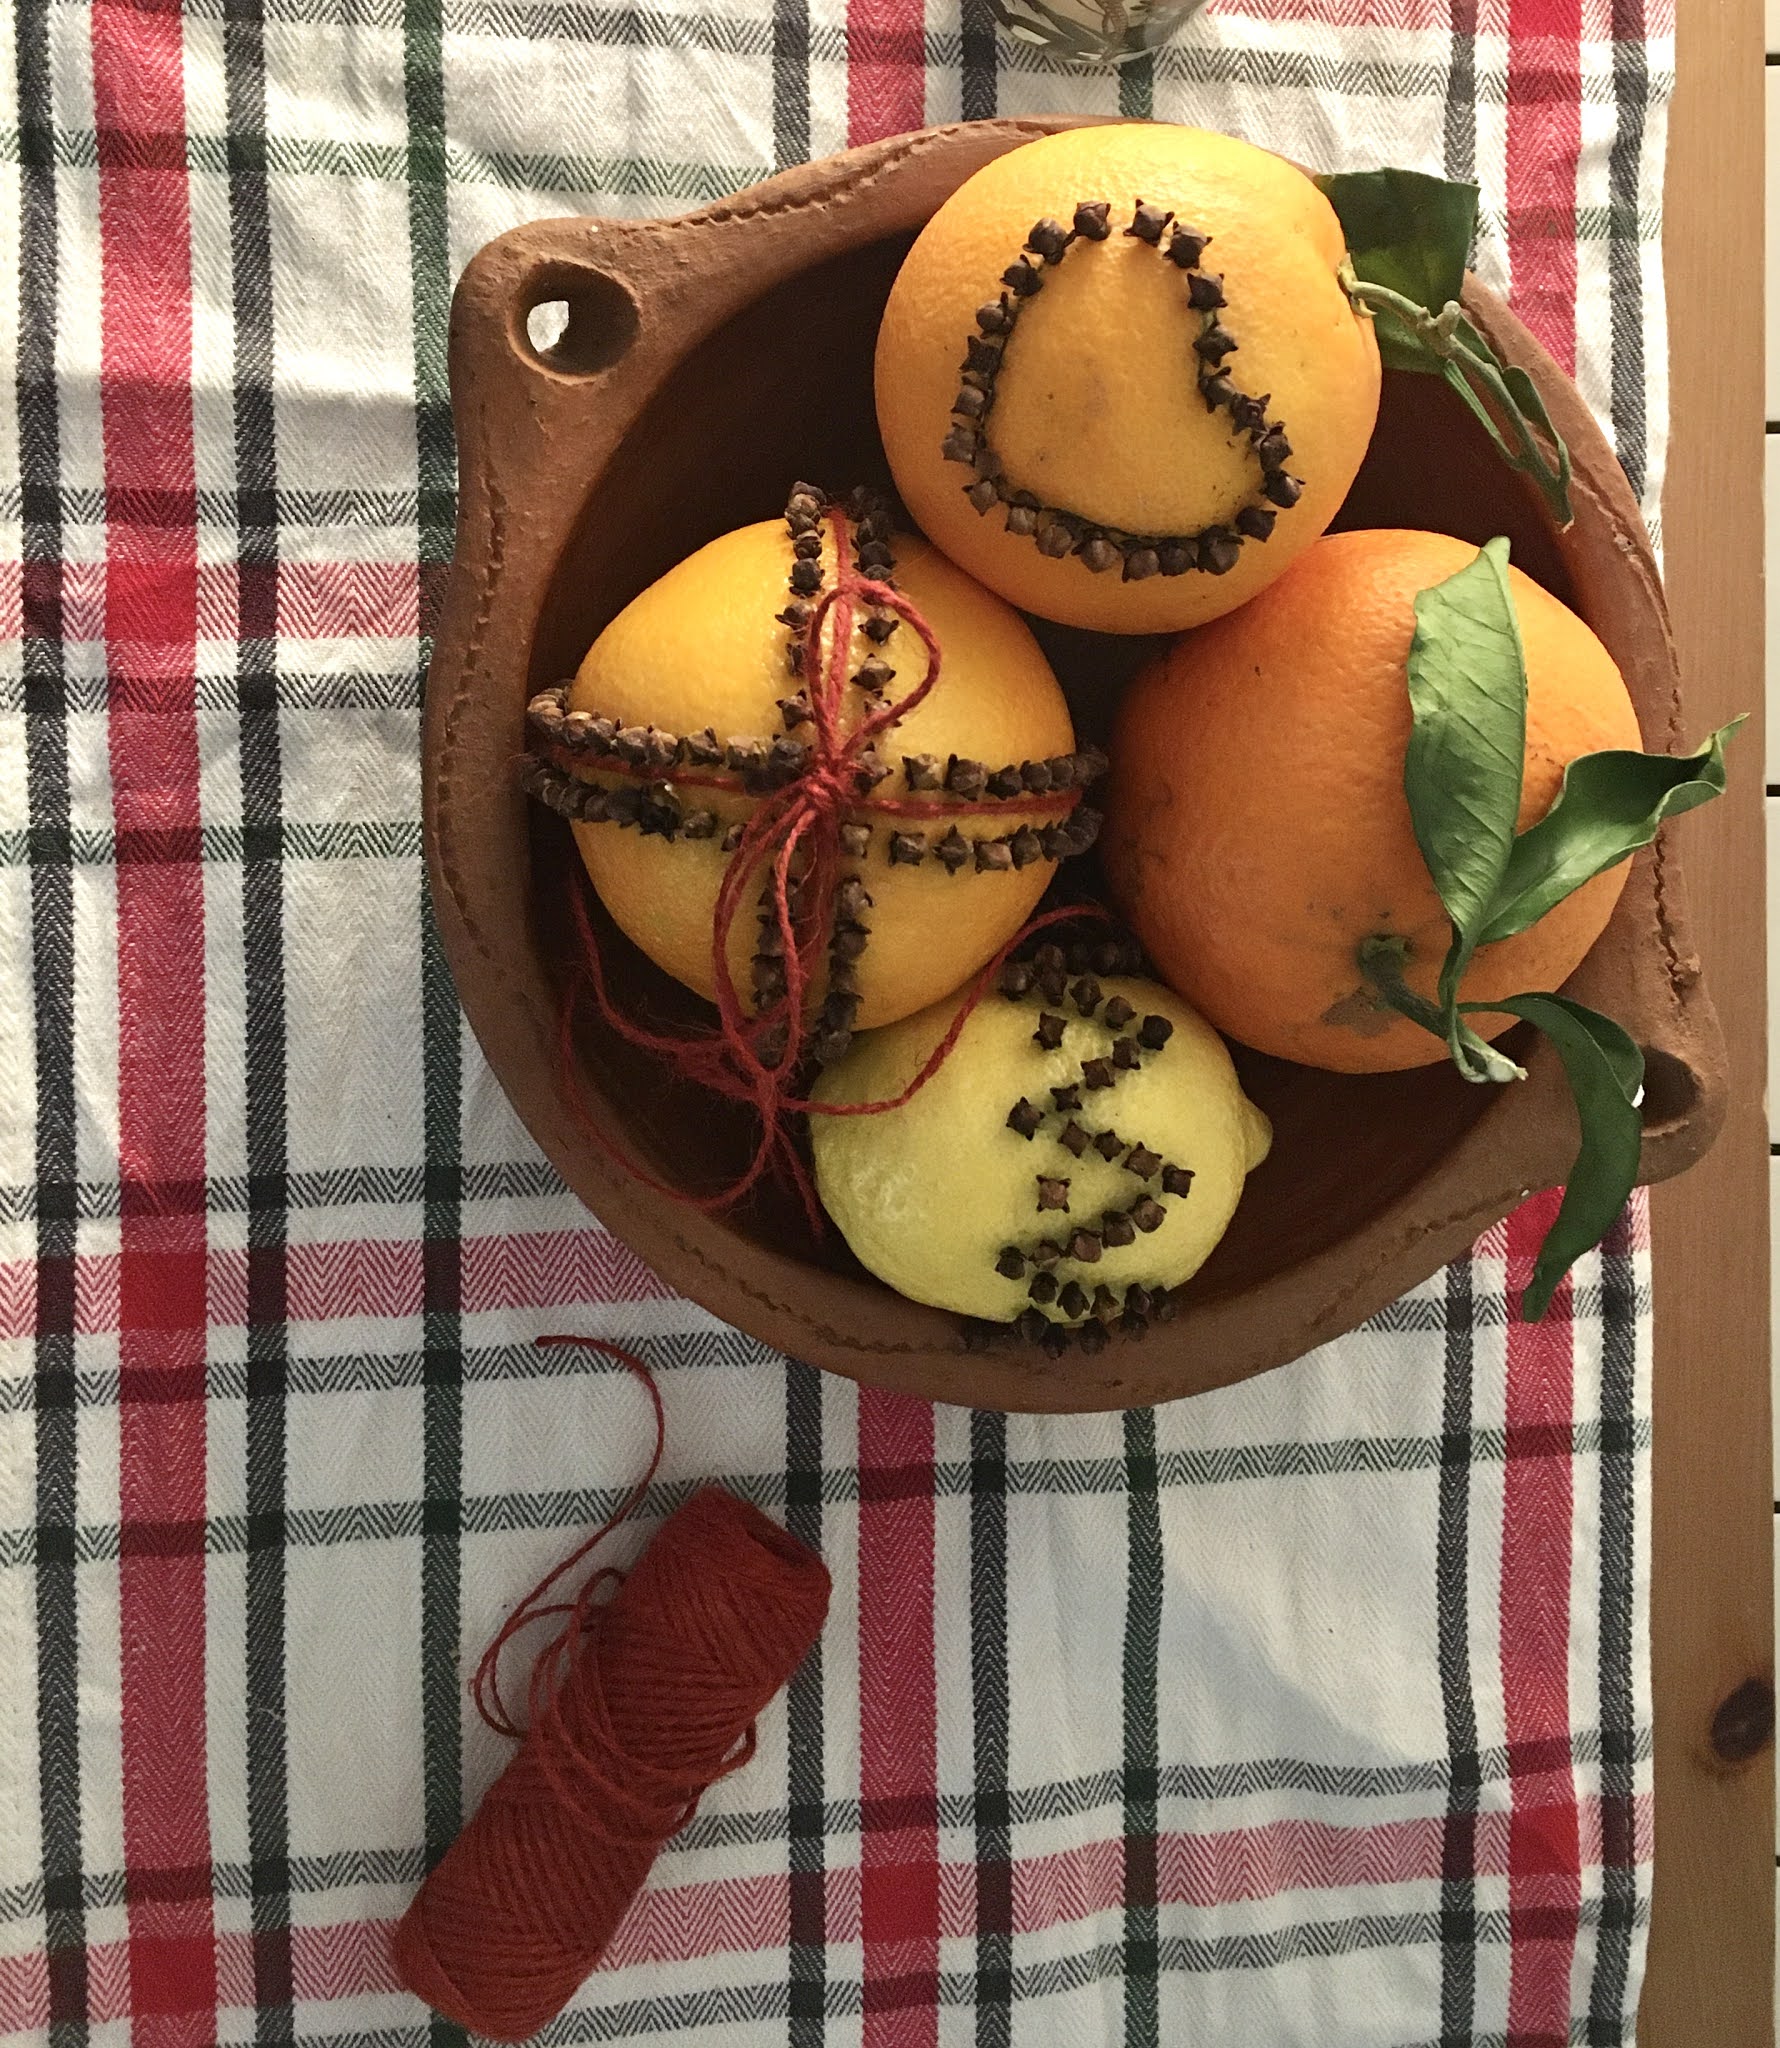
Fun times with cloves, lemons, oranges, and mandarins. Great centerpieces for Christmas.
Been doing a few of these. The key is to do as symmetrically as you can and to poke the holes before with a stick or toothpick. 


Have elastic bands and draw figures with a pen beforehand and then be very consistent with the cloves, make sure they all have the little head.

 You cannot go wrong! 

Tuesday, December 8, 2020

Basic non-greasy Turkey Soup after Thanksgiving


So last year, I tried to do turkey soup with the left overs of the turkey carcass....someone told me, just stick the skeleton of the turkey in water and you get this great soup. Turns out it was DISGUSTING. 

So this year, I tried again, a lot more carefully and guess what I succeeded, yes I did, but I have to be honest, that it took some work and basically this recipe involves some days, because getting a good soup means TIME, and bones dissolving....and that requires time. I was really proud though because I did not add any stock to the soup which is a huge achievement. 

INGREDIENTS:

-1 turkey carcass without any skin and without as 
much grease as possible
-6 sticks of celery (and its leaves).
-1 onion.
-3 cloves of garlic.
-1/2 lemon.
-2 carrots.
-1 teaspoon of pepper.
-1.5 teaspoon of salt.
-a good bunch of herbs like cilantro.

STEPS:

1. Leave the turkey carcass in the fridge for a night so that the grease cools off and you can actually cut it off with a knife. It is very important you do this step, otherwise you will have an insanely greasy soup. 
2. Once you cut off all the jelly grease stuck to the bottom of the turkey, take all the skin off, all of it!!! If you don't do this you are wasting your time. They say that if you do this step you are getting out 60per cent of the grease of a chicken.
3. Now put the whole turkey structure in a big pot and add the celery, onions, garlic, herbs, pepper, salt. Do not throw in the pot all kinds of things, like the stuffing, nope, nope. 
3. Okay now bring the whole pot to a boil and then after that, let it simmer for 2 or 3 hours. Now squeeze half a lemon into the soup or put in the soup. This is really important because the acid of the lemon cuts through the remains of the grease of the soup and gives it an entire different consistency...really transforms it, makes it a lot more light and airy.
4. Now after 4 hours simmering, turn soup off. Leave it outside until it cools off (I left mine out for a day), and then I sticked it in the fridge, with everything turkey, veggies, etc. You are doing this so that the liquid gets as much flavour as possible and so that the grease comes up to the surface and freezes.
5. Now after a day of the soup in the fridge all the greese will be up the top. Remove it with a spoon and toss it. Now time to drain the rest of the liquid with a big drainer. Pour everything, meat and veggies in the same pot and pick out the good meat. I find so much of it it's just trash.
6. Your soup is ready. Add some of that turkey meat and keep in refrigerator for the next times you want to serve. I add rice to it. 
7. Another trick to change the flavour of this broth, is to add some Chinese vinegar. It drastically changes the flavour but really goes so well together.

So these are my tricks, do you have any?  

I don't have a photo of the soup! yikes, of well, it looks just like a broth. I think next time I will do this recipe, looks awesome.

Hey, Christmas is coming! 

Monday, November 30, 2020

Thanksgiving Leftovers Pasta


I saw this recipe in Instagram a few days ago. It looked delicious! and I needed a good use of the left over turkey that I shredded from the soup. 

It's very simple and very very tasty. I altered mine a bit, but basically followed this lady called Thedaleyplate, if you want to look up her Instagram account.

INGREDIENTS

-300 grams of pasta (aprox)
-250 grams of shredded left over turkey (aprox).
-1 small onion.
-2 cloves of garlic.
-1 spoonful of butter.
-200 ml of single cream (nata liquida para cocinar).
-1 cube of chicken stock dissolved in 125 ml water.
-A good bunch of spinach.
-50 grams of corn (if you have it).
-1/2 teaspoon of onion powder.
-1/2 teaspoon of garlic powder.
-1 teaspoon of chilli flakes.

STEPS

1. Get the pasta going first of all in a pot while you assemble the sauce.
2. In the meantime, dice up onion and sautee with the butter (not oil) in low fire.
3. Add garlic in small thin bits for another 5 minutes. DO NOT LET IT BURN.
4. Now add the fresh corn if you have it. This is a good addition because it will add a crunchy element to the dish. Sautee for another 5 minutes.
5. Now add the turkey that has already been shredded and cook a little, like 2 minutes, adding now all your spices, which are the garlic powder, the onion powder, and the chilli flakes as well as some black pepper. This will all give it a great colour.
6. Now add the chicken stock and let it soak a little, like 5 minutes to low fire. 
7. After this add the single cream and at the same time add the handful of spinach, so that it wilts. 
8. Give it all a good toss and let it come together for about 5 minutes until it is all cooked and mixed. VERY IMPORTANT: heat it all up with the cream, but do NOT let the single cream get so hot that it boils because guess what will happen: it will curdle.
9. Now add this wonderful turkey sauce to the pasta that should be ready by now and mix together. No need of cheese in this recipe.
10. Add more chilli flakes and decorate with sweet potatoes here and there or onion flakes, it gives a great touch of orangy color.

SO SO SO good.  

A couple of pics of where the corn came from, was just decoration.


Wednesday, November 25, 2020

Easy Sage turkey for Thanksgiving or Christmas


I have made this recipe 3 times and it has always worked. 
I mean, seriously what's the fuss about cooking the turkey in Thanksgiving? 

I find the other plates SO MUCH HARDER. 
I think in Thanksgiving with so many cinnamony spices, etc, you want the turkey to taste as normal as you can. That is why I like this recipe, cause it's so simple.  

Now here is the secret to a good turkey: it has to be FRESH. If you start freezing the thing, forget it, your turkey will not be nearly half as good, but I understand this is not always possible in some countries. 

Fortunately, it is possible here in Spain.

The next key ingredient of this recipe is lot and lots of fresh sage.... this is what will make the turkey truly distinctive and delicious.

INGREDIENTS:

For the bed of the turkey:
-2 onions sliced (3 in total)

For the stuffing inside and tray:
-1 turkey.
-1 onion.
-1 apple.
-1 lemon.
-1 tsp. of salt.
-1/2 tsp of rosemary
-1/2 tsp of thyme
-1/2 tsp of sage.
-1/3 tsp of black pepper.
-One bundle of sage (2 bundles in total)
-1 and a half glass of water. 

For the butter paste to anoint the turkey with:
-3 big spoonful of butter.
-5 garlic cloves minced.
-1 tsp. of salt.
-1/2 tsp of rosemary
-1/2 tsp of thyme
-1/2 tsp of sage.
-1/3 tsp of black pepper.
-Lots of fresh leaves of sage chopped up.

STEPS:

1. Firstly get your turkey outside to room temperature as you prepare it.
2. Cut up two onions in slices and place the turkey in a bed of onions.
3. Now prepare the stuffing. In a bowl I mix the salt, pepper and spices and mix it all together and then just put half of that mix inside the turkey, in the cavity. Reserve the other half to season the vegetables in the next step.
4. Now cut up 1 onion, 1 apple, and 1 lemon in medium cubes and season with the rest of the salt&spices. Toss them well so that they are well coated and now stuff it all inside the turkey.
5. Now dry off the turkey with paper towel until the skin is dry (if it isn't dry, you won't be able to brush it with butter, it won't adhere).
6. Now start making the butter paste for outside the turkey. Add the butter in a bowl and melt it for about 10 seconds in microwave until it is softer. Now add the rest of the ingredients until you create a tasty paste. 
7. Now stick inside the skin of the turkey, in between the breasts and the skin....make some space and add there the succulent paste. 
8. Now with the rest of the mix, with the help of a basting brush, paint the whole turkey with the succulent butter. It will give it a great awesome flavour and will make it crispy and help it get a tanned.
8 and 1/2. Pour 1  and a half glass of water into the container so that a sauce is created.
9. Ready! Now stick this baby into oven and cook in 150 degrees for 2 or 3 hours to begin with. Warning this is ALL depending on how many kilos your turkey is you will need to cook it for longer. But I have found that this ratio is true: 13-15 minutes per pound, so that is 450 grams for every 13-15 minutes. Another thing you can do that the turkey is done is to stick a thermometer and when it is 65 degrees celsius. 
So my last turkey was only 3 kilos so 1,5 hours or 2 was enough, and the previous one was 4 kilos son 3 hours was enough at this low temperature (150 degrees). And then the rest of the time I spent it making it gold, or as my husband said: the tanning session. 
10. The tanning session is necessary because a turkey simply will not come out perfectly golden in the right places. YOU are the person who browns it to perfection. Your oven won't do that for you magically....at least mine is not that smart. 
So what I do is to rotate the tray over and over and over as many times as I need it until the turkey beautifully browned and tanned. This is a lot of work, getting the tray in and out of the oven, but it's worth it. I make it to 200 degrees ALWAYS keeping an eye on the turkey because it can burn fast.
Another trick here is to cover it with foil in the places which have already been tanned, and continuing to work on the pasty white ones. Keep doing this until you bird looks darn good!
11. That's it. Once it is perfectly done, get it out and leave it on counter and cover with lots of foil until your guests come, it will give the turkey time to rest and the juices get relaxed, etc. 

12. Now show off your turkey for a second to your guests and then carve it! Garnish it with lots of fresh sage to make it taste amazing. So good and juicy.


Maybe next year I will look into this video of Gordon Ramsey about how to do butter for thanksgiving turkey.

Another tip if you want the golden colour that looks like the turkey is straight out of a movie then follow this video of Martha Stewart in minute 3. Basically you need a cheese cloth that you dip into  butter 300 grams and 1 bottle of white wine, all melted, you dip the cloth with it and you cover the turkey with it. 

Monday, November 23, 2020

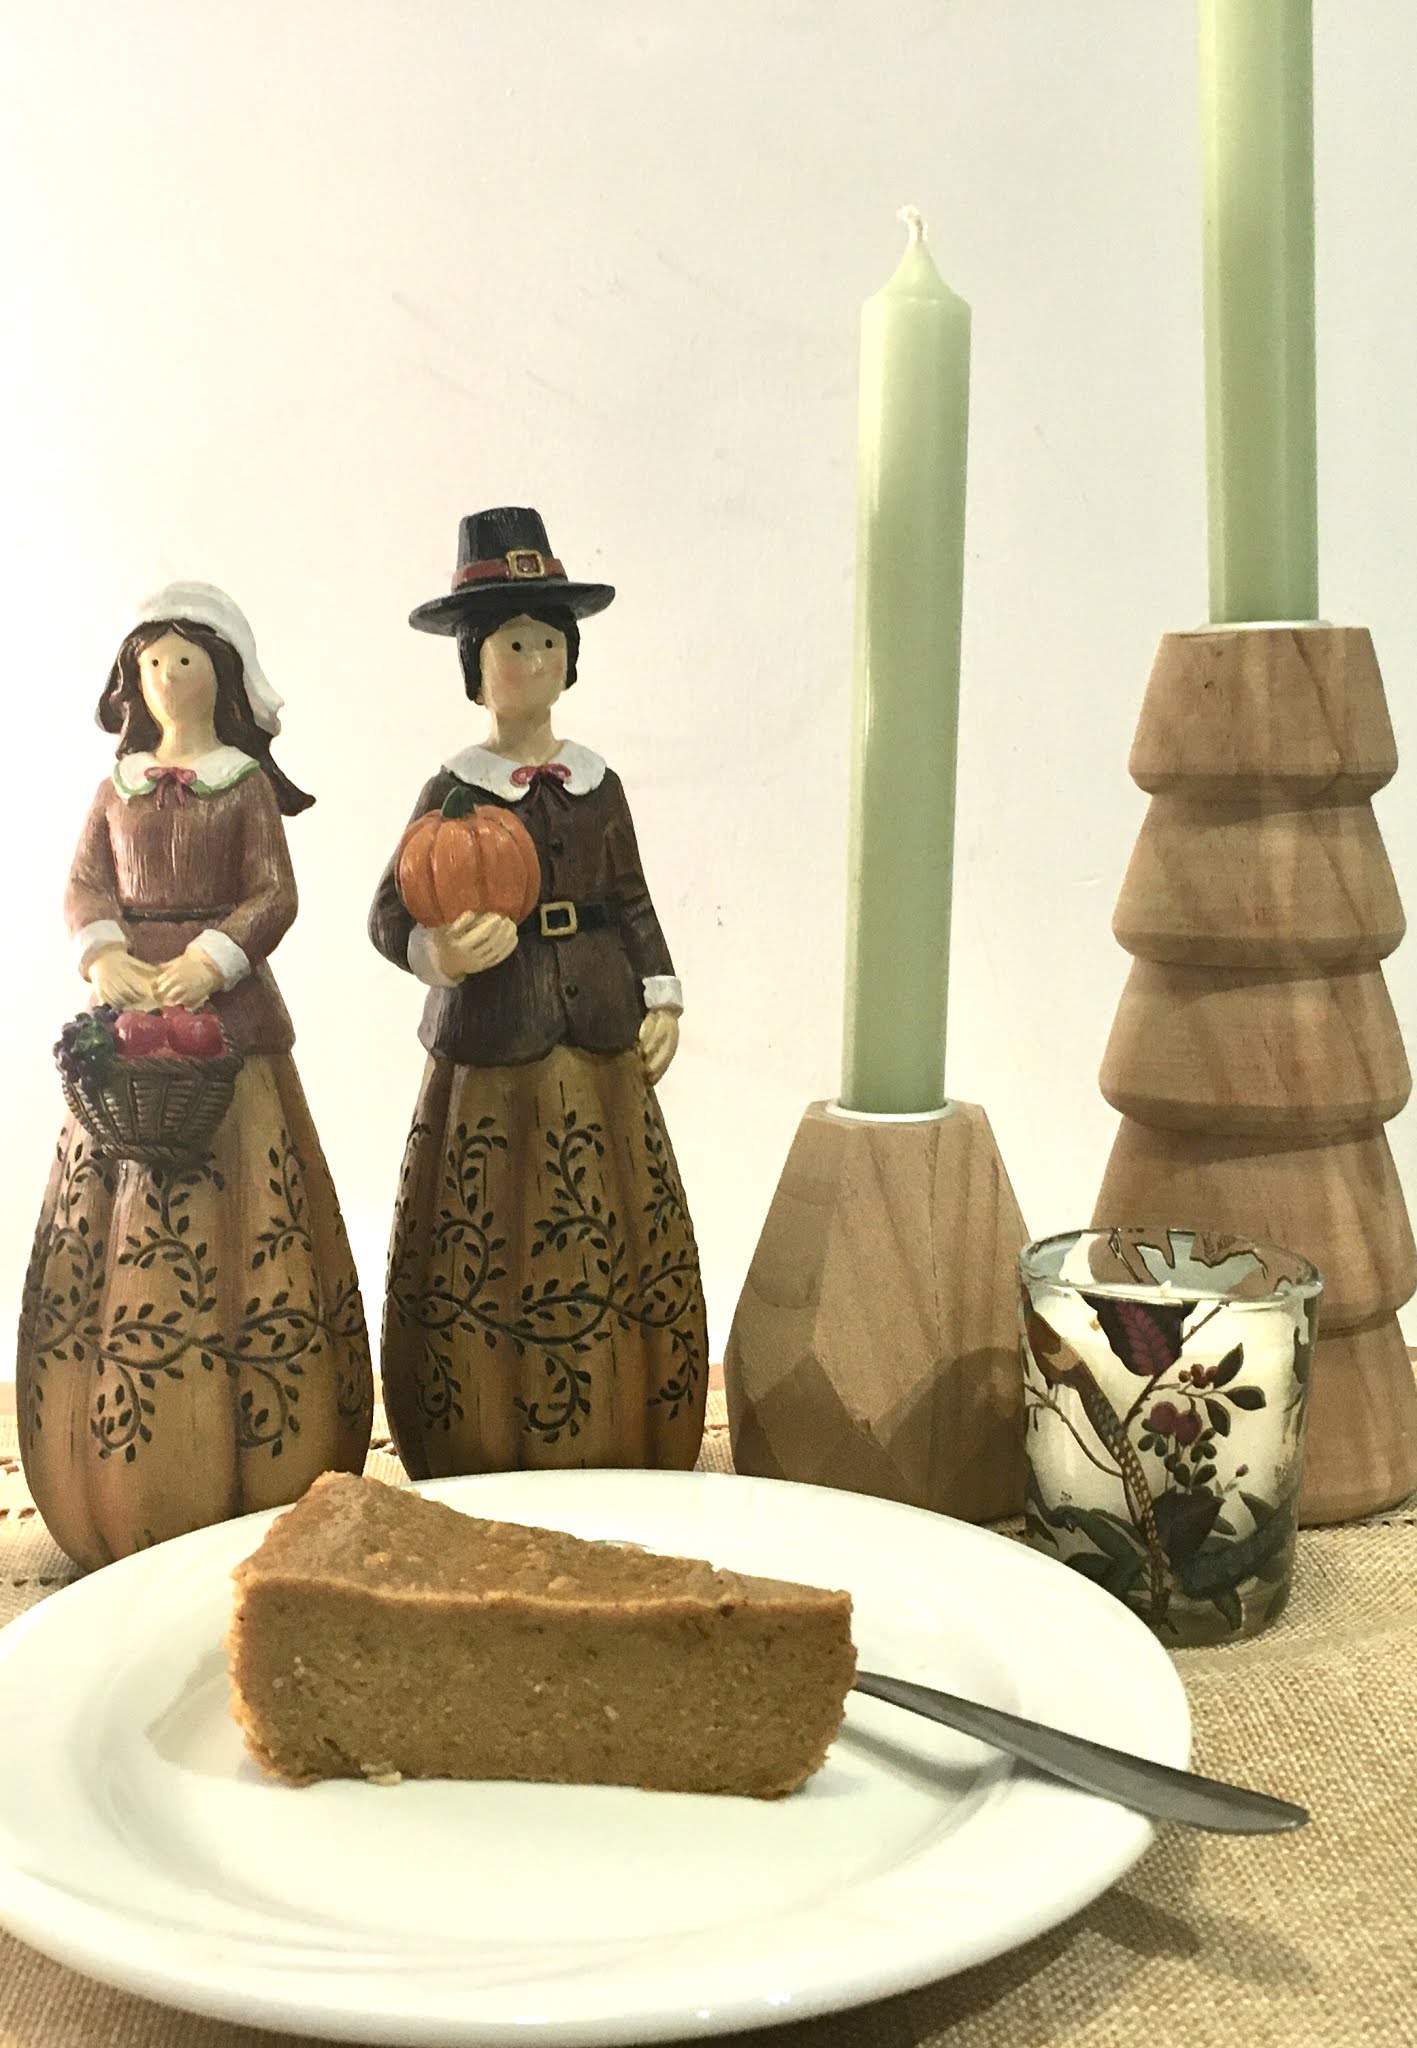
Pumpkin Pie Custard for Pie or Minipies


 My experiment turned out a great!

I wanted to do a pumpkin pie but had no idea how. I more or less followed this great recipe and it worked! But my pie did not have crust, but the custard, of the pie, tastes great. I will do this again.

INGREDIENTS:

-400 grams of pumpkin flesh.
-2 eggs and one yolk.
-3 heaped spoonfuls of condensed milk.
-1,5 spoonfuls of cornstarch.
-1 teaspoon of vanilla extract.
-1/2 teaspoon of salt.
-1/3 teaspoon of black pepper.
-1 teaspoon of pumpkin spice.
-1 teaspoon of mixed spice.
-1/2 teaspoon of ginger.
-1/2 teaspoon of cinnamon.
-1/2 teaspoon of nutmeg.

STEPS:

1. Roast the pumpkin for about 1 hour or 2. When it cools off peel off and put flesh without seeds to prepared in a bowl.
2. Blend with a fork. Now add all your spices.
3. Add the condensed milk, and the vanilla extract and mix everything with a hand blender.
4. Now add the cornstarch and the two eggs andthe yolk and mix all together again until it is smooth (I did it this second time with a whisk).
5. Now set the oven to 180 degrees and prepare the baking dish. I used baking paper to line well the dish. It is soooooooooooo much better than using butter. No mess.
6. Place in oven for at least an hour to 180 degrees and just keep watching it until it becomes solid. When the knife comes off clean it is ready! Turn heating off but still let it be there for a little longer to continue drying out.
7. Let it cool off completely before cutting slices. 
8. Or alternatively fill up the little pies with a pipe bag and decorate. 

I really like pumpkin pie dessert.  What an amazing thing heat it. It turns liquid into creamy custardy things....wow, superb result. 

The key for the flavour of this recipe is to really just keep trying until it tastes just like you want it, spicier or sweeter or saltier.... ideally I'd say it should be sweet and with a great cinammony and gingery kick.

Friday, November 20, 2020

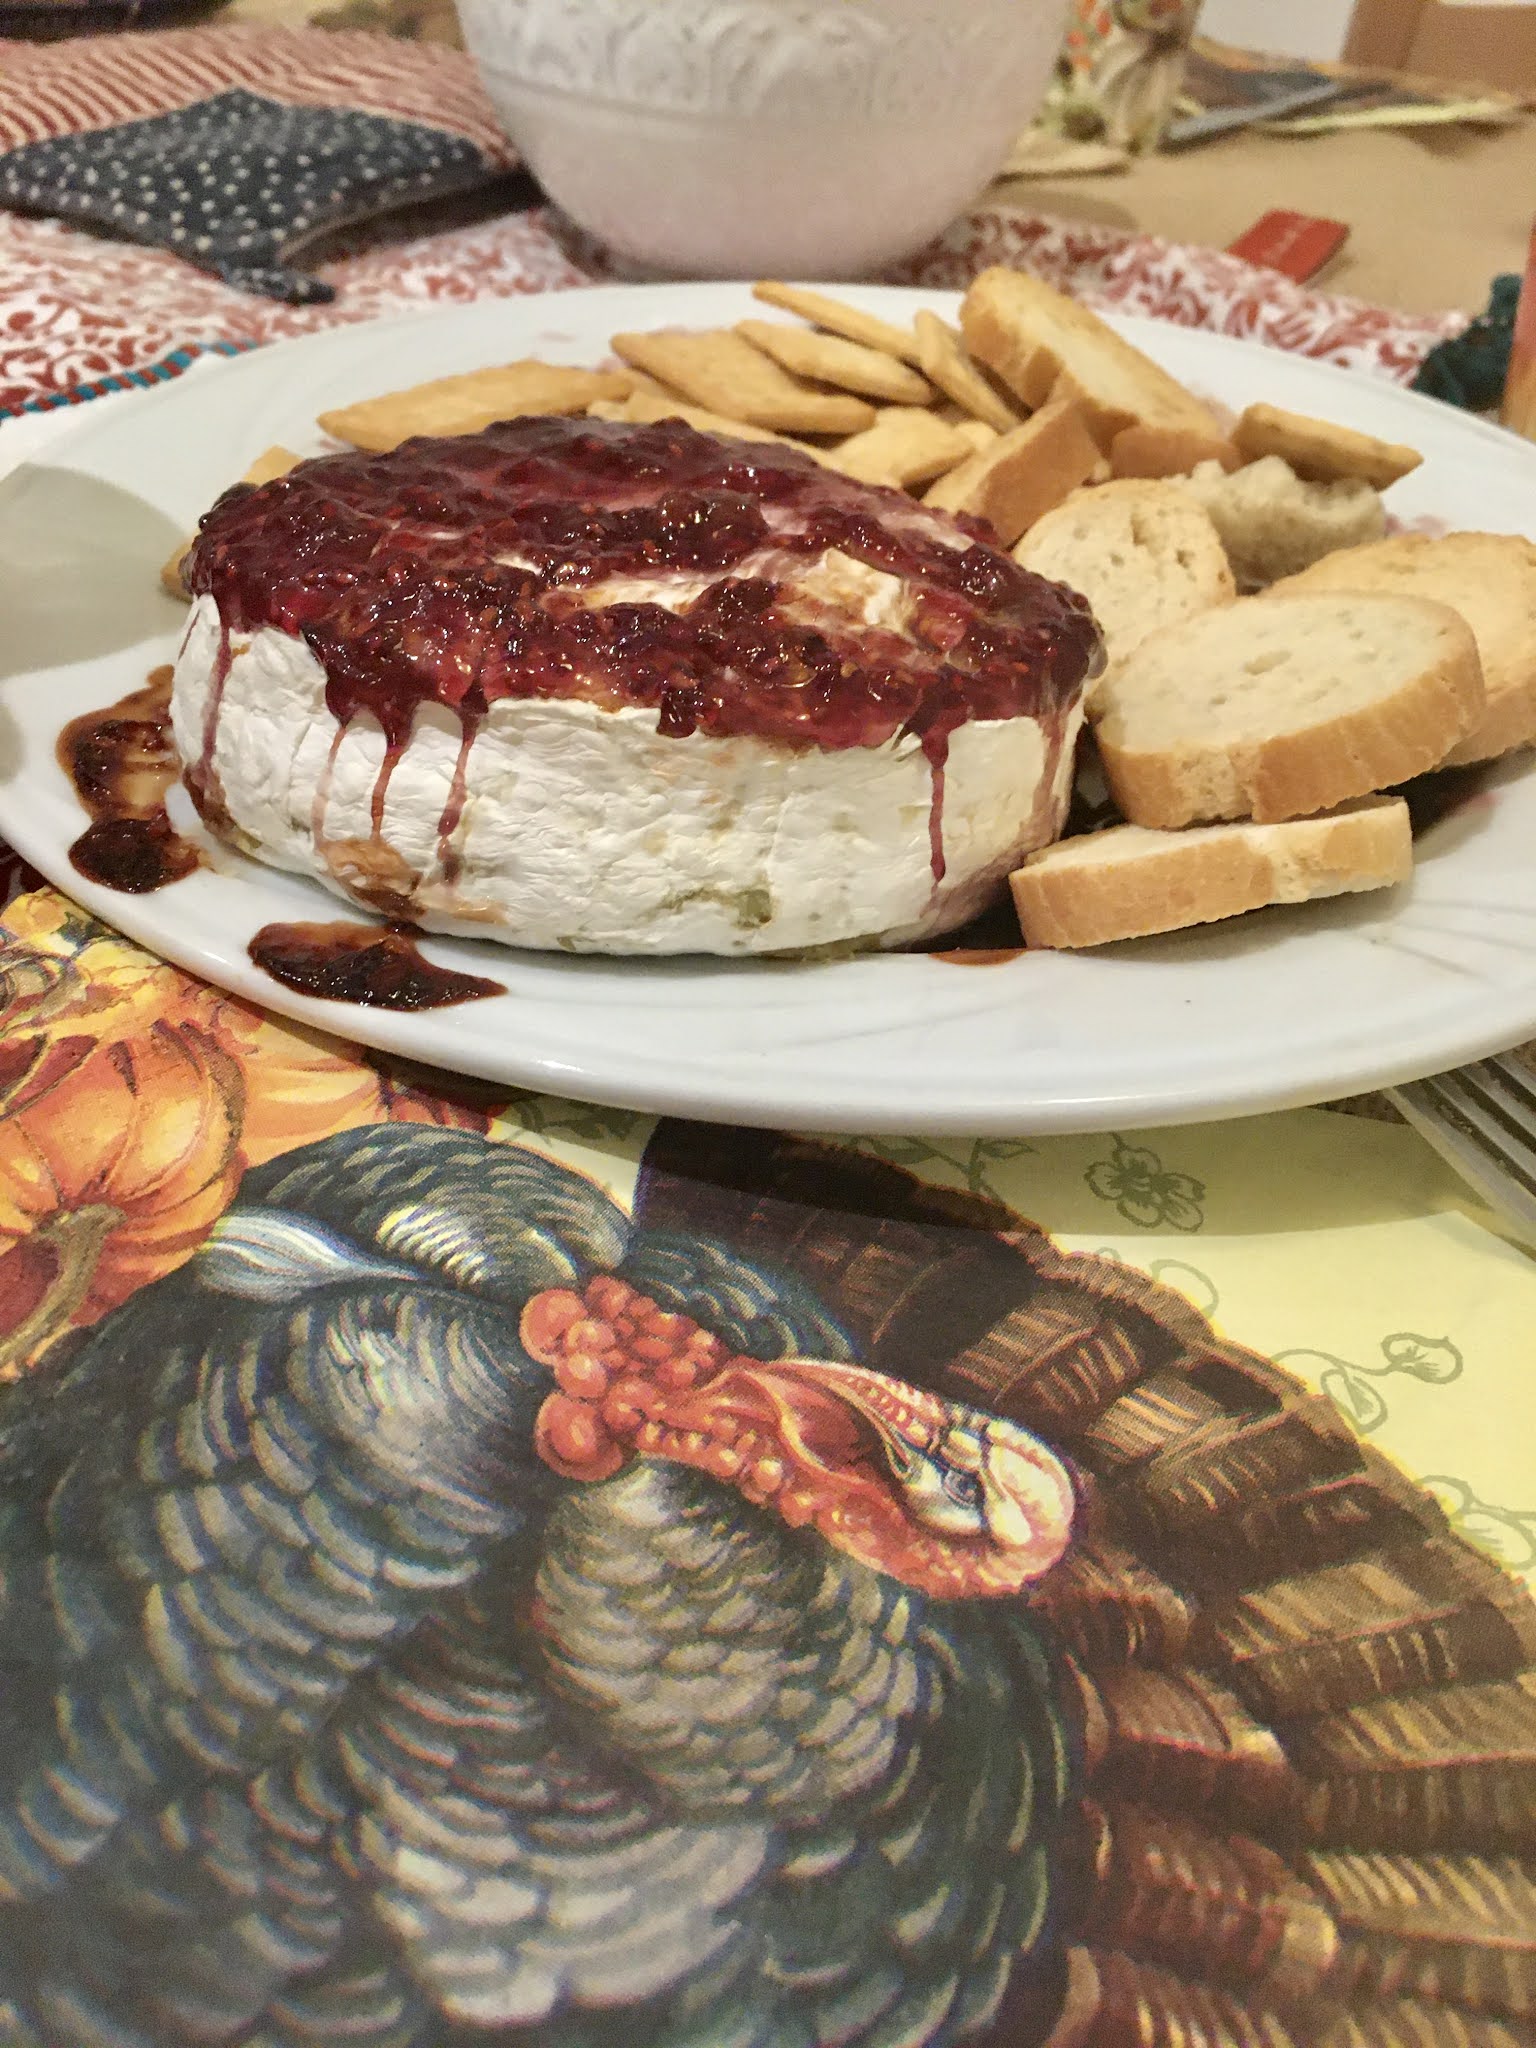
Baked Brie-- Super Easy Thanksgiving Starter


This is a fantastic dead-easy recipe for a Thanksgiving starter.  

INGREDIENTS:
-1 Brie cheese.
-1 Camembert cheese.
-2 or 3 spoonfuls of jam of fig or raspberry 
or whatever you have.

STEPS:

1. Place the cheeses with the jam on top on a plate that you can place in the oven for about 30-40 minutes. 
2. Bake at 180 degrees for 30-40 minutes until the cheese is very soft and jam has caramelized.
3. When you serve, let it cool off 10 minutes so that it is not volcanic hot.

 
So so so good, and so easy. Even you can take it somewhere because the cheese will harden a little but it is still so good with the jam caramelized.